
Toilet Tank Won’t Hold Water: Common Problems and How to Fix
Well, here we are, plunging into the mysterious world of toilets! Yes, pun intended. We don’t usually give much thought to our thrones until the situation goes sideways. When your toilet tank suddenly decides it won’t keep the water in, you might feel like you’re up the creek. But don’t worry! Throughout the last 10 years of my maintenance work at a property equipped with over 250 toilets, I have encountered this exact issue on numerous occasions.
In this article, we’ll dive into some easy troubleshooting together and shed light on the essential steps to fix this seemingly perplexing issue like a pro.
The Flapper: A Leaky Affair
You know that rubber thingy at the bottom of the tank that looks like a mini trapdoor when you flush the handle? That’s the flapper! Its job is to keep the water in the tank until you flush, and then it lifts for about 5 seconds to release the water into the bowl. Flappers can wear out, get warped, or become dirty, which can cause them to leak. So, what do we do?
- Examine the flapper closely. If it looks worn out, cracked, warped, or just plain gross, it’s time to replace it. Head to your local hardware store, pick up a new one, and follow the instructions to install it. Essentially, you’ll just need to turn off the water to the toilet, flush until you drain the reservoir tank, and then you’ll be able to access the flapper without making much of a mess.
- If the flapper seems physically okay but just crusted up with mineral deposits from the water, then give it a good cleaning. Sometimes, dirt and mineral deposits can mess with the seal the flapper makes with the bottom of the reservoir tank. Wipe it down with a sponge or cloth, or just massage it a bit with your fingers, and you will very likely solve the problem.

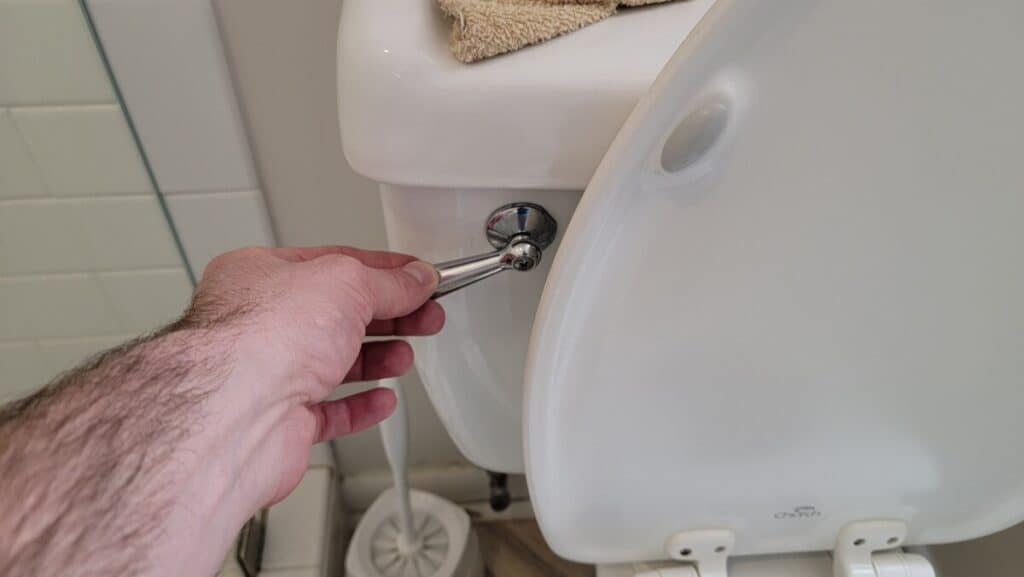
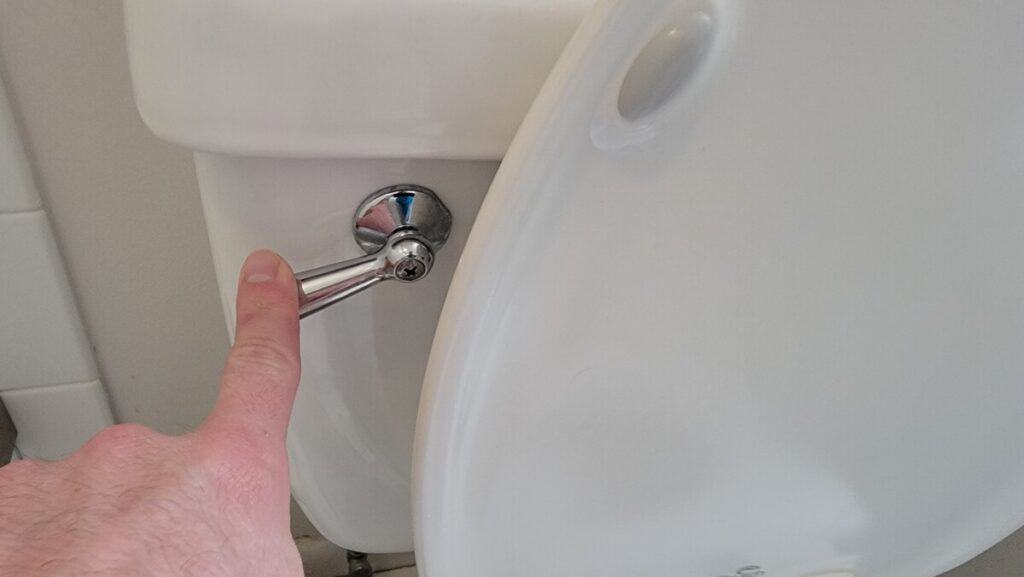
The Chain: Getting the Length Just Right
There’s a chain that connects the flapper to the flush handle, and if it’s too long or too short, it can cause issues. Here’s how to check and adjust the chain length:
- Take a look at the chain. If it’s too long, it could get caught under the flapper after you flush, preventing a proper seal and causing water to constantly flow out of the tank into the bowl. If it’s too short, it might not let the flapper close completely resulting in the same problem.
- To adjust the chain, simply unhook it from the flush handle and reattach it to a different link. Experiment until you find the perfect length that allows the flapper to close completely without getting caught.
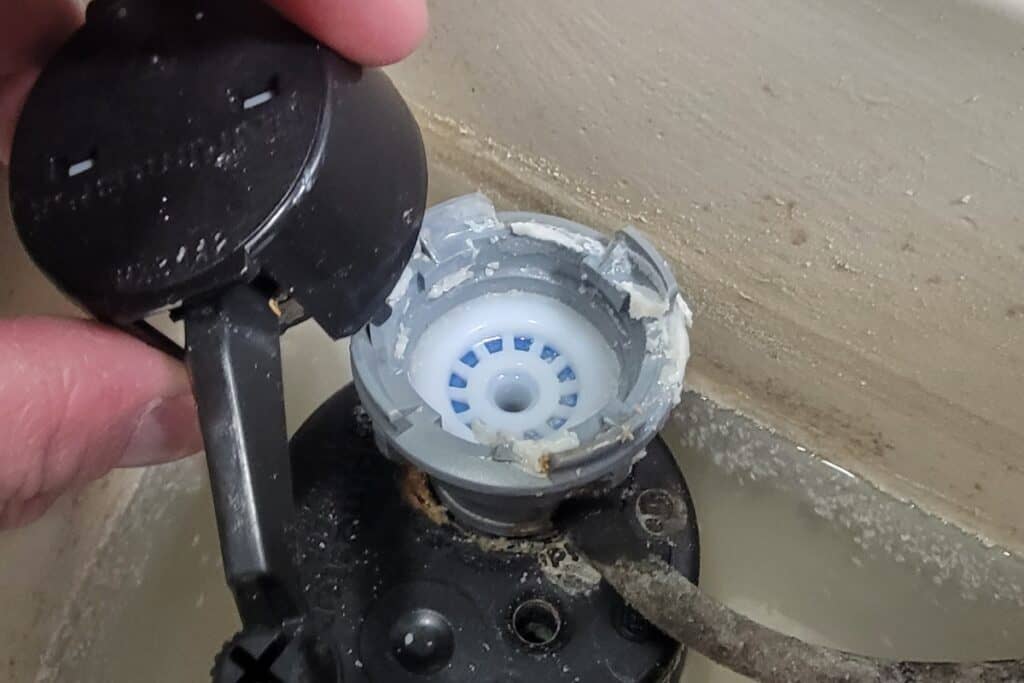
The Fill Valve: Ensuring the Right Water Level
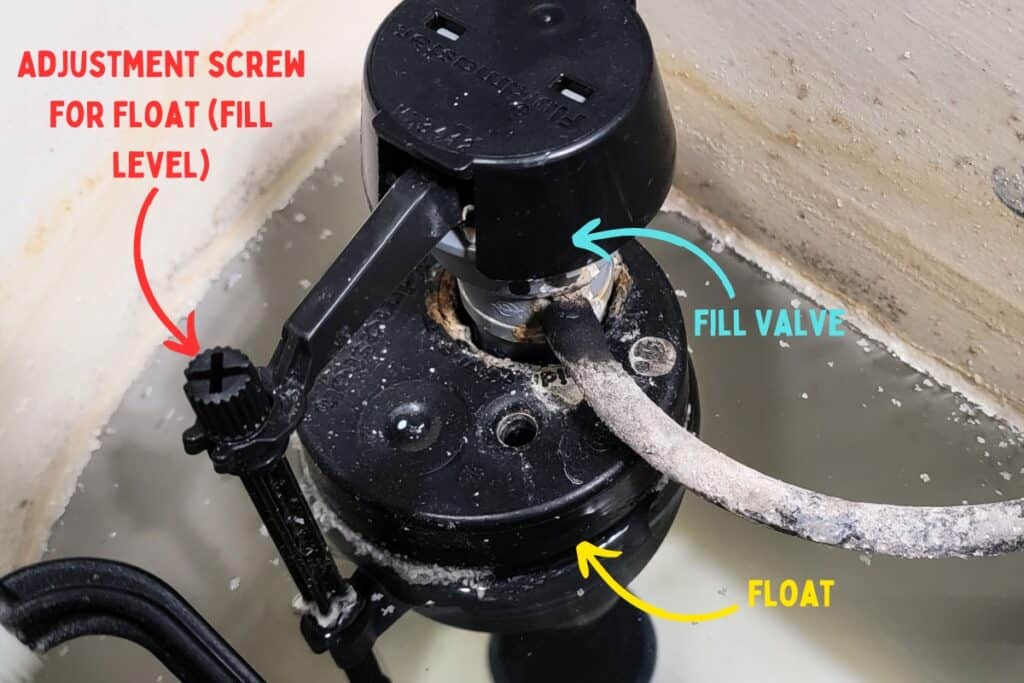
That tall contraption in the corner of the tank is the fill valve. It makes the hissing sound after you flush as it fills the tank back up and is responsible for controlling the water level in the tank. If the water level is too low, your toilet will have a weak flush. Here’s how to tackle fill valve issues:
- First, check the water level in the tank. It should be within an inch of the overflow tube (that tall, open-ended pipe in the tank). If it’s too low, you’ll need to adjust the fill valve.
- Different fill valves have different adjustment methods, so consult the manufacturer’s instructions. Typically, you’ll need to either turn a screw or squeeze a clip to change the height of the float (the ball or cup-shaped thing that moves up and down with the water level). The more you adjust the float upwards, the more the tank will fill.
- Adjust the float height until you’ve got the water level just right, and then give it a test flush to make sure everything’s working as it should.
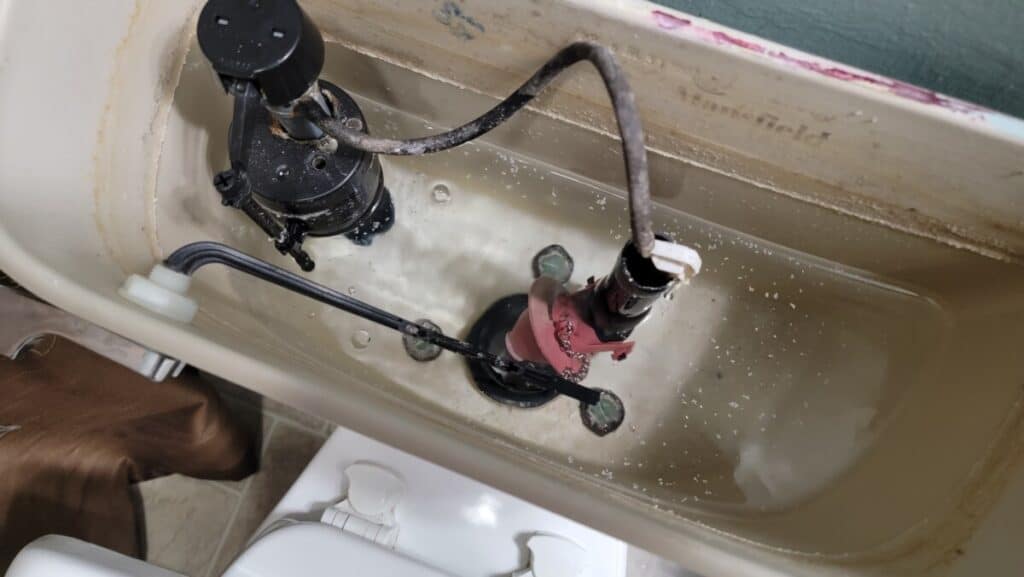
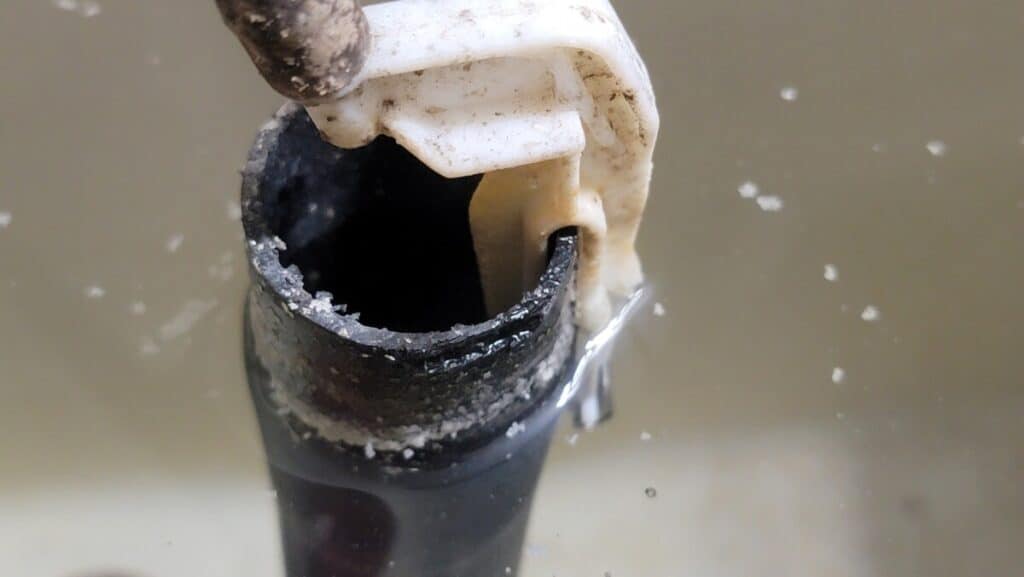
The Overflow Tube: Preventing Excess
The overflow tube is a key player in preventing your toilet from turning into a miniature Niagara Falls. If water is constantly running into the overflow tube, you’ve got an issue with either the fill valve or the flapper.
- First, check the flapper, as we discussed earlier. If it’s worn out, dirty, or not sealing correctly, address that issue first.
- If the flapper is in good shape, turn your attention to the fill valve. Make sure it’s properly adjusted and the water level is correct, as we covered earlier. If necessary, replace the fill valve.
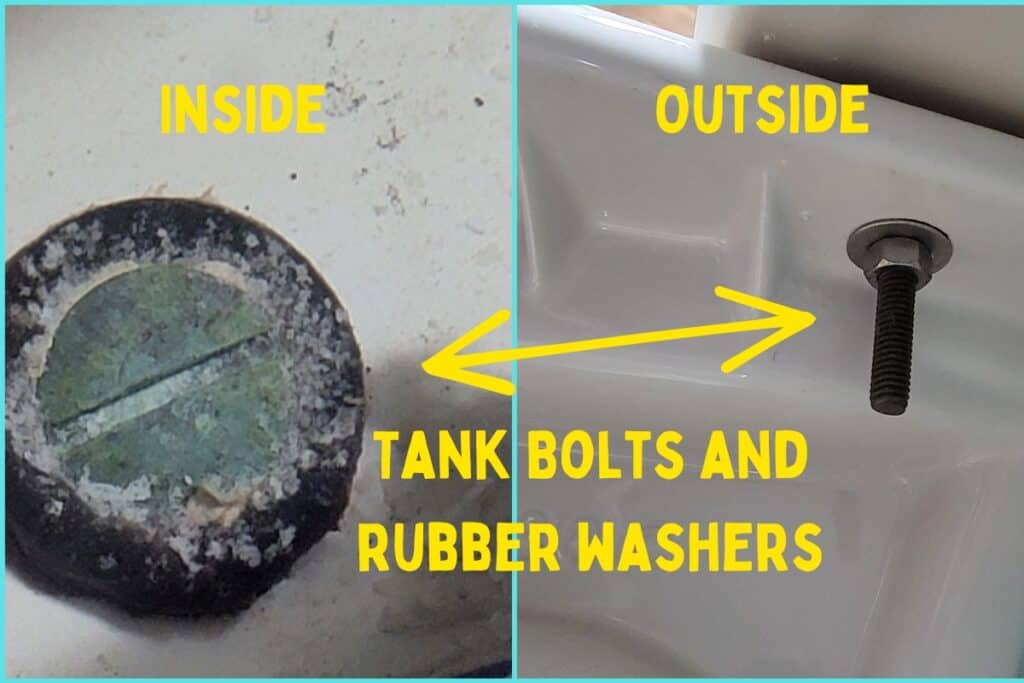
The Tank Bolts: Sealing the Deal
Finally, let’s talk about the tank bolts. These are the bolts that secure the reservoir tank to the toilet bowl, and they have rubber washers to create a watertight seal. Over time, these washers can wear out and cause leaks. Here’s how to tackle this issue:
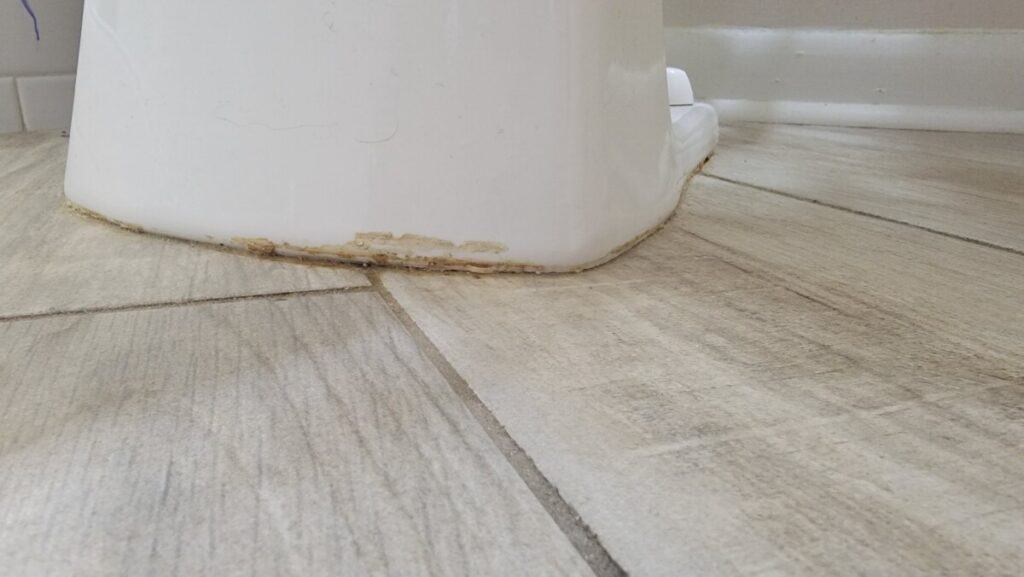
- First, check if the leak is indeed coming from the tank bolts. Place a towel under the tank and see if it gets wet. Keep in mind that toilets also naturally form condensation in hotter months as the cool water in the tank causes water vapor in the air to bead up on the outside of the tank. Make sure it’s indeed a leak and not just condensation!
- If the tank bolts are the culprit, you’ll need to replace the rubber washers. Turn off the water supply, flush the toilet to empty the tank, use a wet/dry shop vac to get the rest (if desired), and then remove the bolts.
- Replace the old rubber washers with new ones, reinstall the bolts, and tighten them evenly. Be careful not to overtighten, as this can crack the tank or deform the washers which will lead to another leak.
- Turn the water supply back on, let the tank fill, and check for leaks. If all is well, you’ve solved the problem!
And there you have it! While it might seem like a perplexing task, with a little patience and persistence, you’ll have your toilet back in tip-top shape in no time with just a minimum number of inexpensive tools. Just remember to approach each step with curiosity, flexibility, and a can-do attitude.
As you embark on your toilet repair journey, keep in mind that sometimes the solution will be a combination of these steps. So, don’t be afraid to mix and match your troubleshooting techniques as needed. And, of course, if you find yourself completely stumped, it’s always a good idea to call in a professional plumber or handyman for assistance. Good luck!