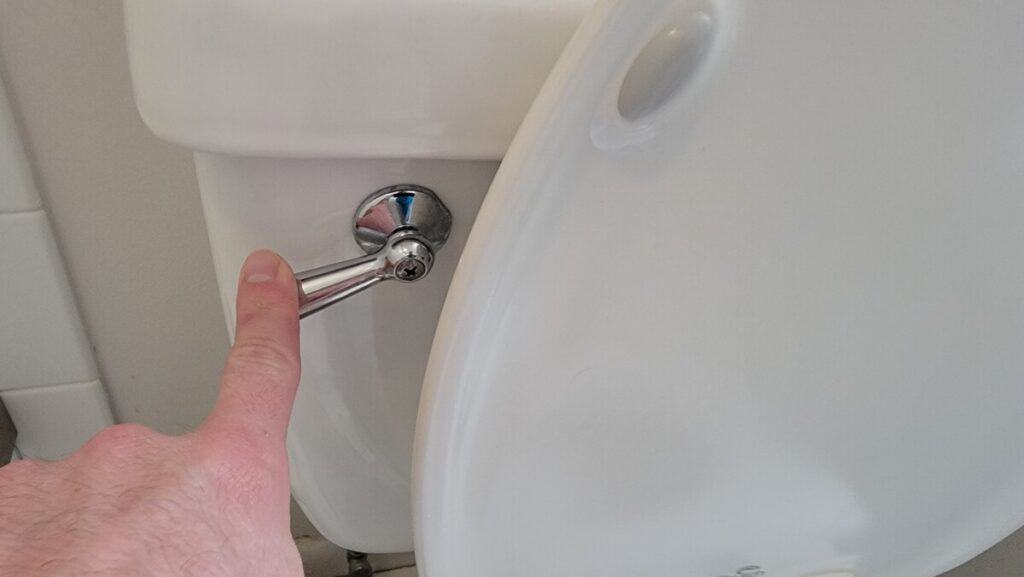
Toilet Seat and Lid Replacement: An Easy Step-by-Step Guide
Replacing a toilet bowl seat and lid may seem like a daunting task, but with the right tools and guidance, it can be a simple and straightforward process.
You don’t need to call a handyman like myself, but you can certainly do so if you like! In the past 10 years of my maintenance work at a property equipped with over 250 toilets, I have faced this exact issue on numerous occasions.
In this article, we will walk you through the steps to replace your toilet bowl seat and lid, ensuring a secure and comfortable fit for your bathroom throne.
1. Measure Your Existing Toilet Seat and Lid
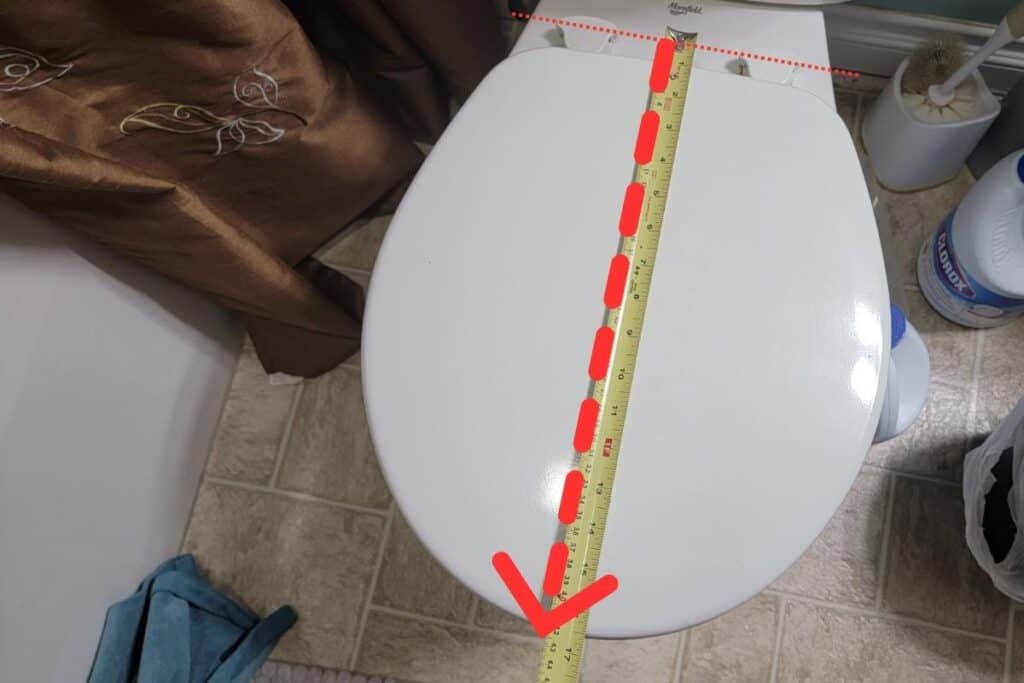
For this, you’ll need a tape measure. Go ahead and measure from the center of one of the seat bolts to the center of the other. Write that number down. Next, measure the length of the seat and lid from the side near the tank (between the bolts) to the side that faces the rest of the room.
Toilet seats and lids will usually be 16.5″ or 18″. A 16.5″ seat and lid is considered “round”, whereas the 18″ seat and lid is considered “elongated”.
2. Gather the Necessary Tools and Materials to Change out the Seat and Lid
Before you begin, gather all the tools and materials required for the job. You will need:
- A new toilet bowl lid
- A flathead screwdriver or wrench (depending on your toilet’s hardware)
- Gloves (optional, for hygiene purposes)
3. Remove the Old Toilet Bowl Lid
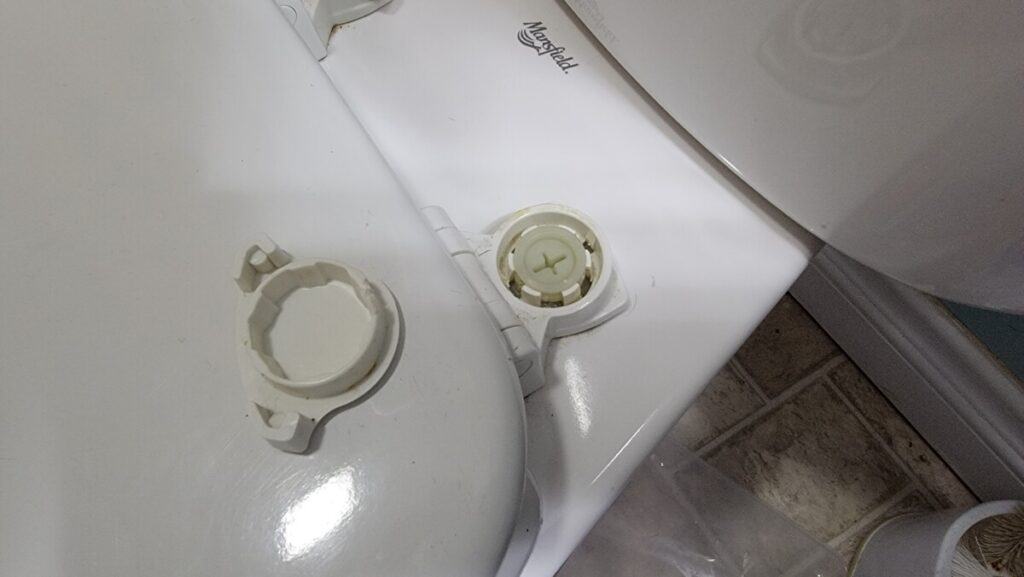
First, put on your gloves if you prefer to keep your hands clean during the process. Locate the bolts or screws that attach the toilet bowl lid to the seat. These are usually found at the back of the seat, near the hinges. They may be covered by plastic caps. Go ahead and simply lift or pry off the caps with your fingers or a flathead screwdriver.
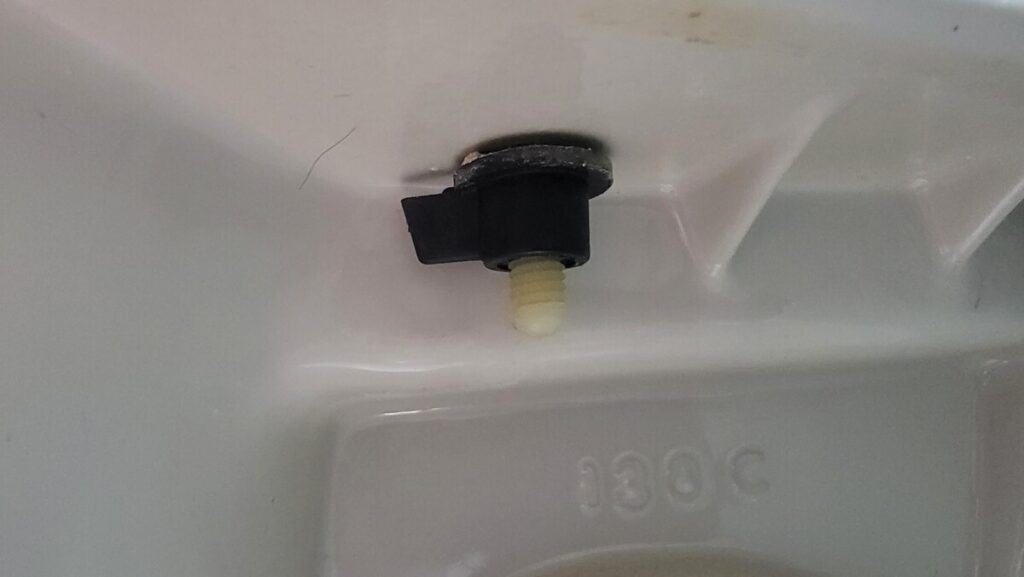
Using a flathead screwdriver or wrench, depending on the type of hardware, carefully unscrew or loosen the bolts or screws. Hold the nut on the underside of the toilet bowl with your other hand to prevent it from turning while you unscrew the bolt. Once the bolts are removed, lift the old toilet bowl lid off the seat.
4. Measure and Align the New Toilet Bowl Lid
Before installing the new toilet bowl lid, double-check the distance between the bolt holes on the toilet seat to ensure the lid is compatible. The new lid should have adjustable hinges that can be moved to match the distance between the bolt holes.
Place the new lid on the toilet seat and align the hinges with the bolt holes. Adjust the hinges as necessary for a proper fit. Double-check the alignment to ensure the lid is centered and straight on the seat.
5. Attach the New Toilet Bowl Lid
Once the new lid is properly aligned, insert the bolts or screws through the hinges and into the bolt holes. Place the nuts onto the bolts from the underside of the toilet bowl. Tighten the nuts by hand to secure them in place. Remember, these are likely plastic. Don’t go crazy with them.
Using your flathead screwdriver or wrench, tighten the bolts or screws while holding the nut in place from the underside. Be careful not to overtighten, as this can crack the toilet bowl or damage the lid. The lid should be secure but still have some flexibility to move slightly when pressure is applied.
6. Check for Proper Fit and Function
After attaching the new lid, test its fit and function. Open and close the lid to ensure it moves smoothly and without resistance. Sit on the closed lid to check for stability and comfort. If the lid feels loose or wobbly, double-check the tightness of the bolts and adjust as necessary. It’s your throne, so make it as comfy as possible!
Final Takeaways
Replacing a toilet bowl lid is a simple and manageable task that can greatly improve the appearance and functionality of your bathroom. With the proper tools, materials, and step-by-step guidance, you can easily swap out an old, damaged, or unattractive lid for a new one, ensuring a comfortable and secure fit.
Remember to always follow the manufacturer’s instructions for your specific toilet model and consult a professional plumber or trusted handyman if you encounter any difficulties or uncertainties during the process.
By taking the time to replace your toilet bowl lid, you can maintain a clean, functional, and aesthetically pleasing bathroom environment for years to come.


