No More Holding the Handle Down: Toilet Flush Repair Guide
A toilet that won’t flush without standing there and holding the handle down for an excessive period of time can be frustrating, but the good news is that fixing this issue is often easy and doesn’t require calling for professional help. This particular problem has presented itself countless times over the past 10 years while I worked in maintenance at a property with over 250 toilets.
In this article, let’s explore the common causes of this problem and provide step-by-step instructions on how to fix a toilet that won’t flush without having to stand around while holding the handle down.
Understanding the Components of a Toilet
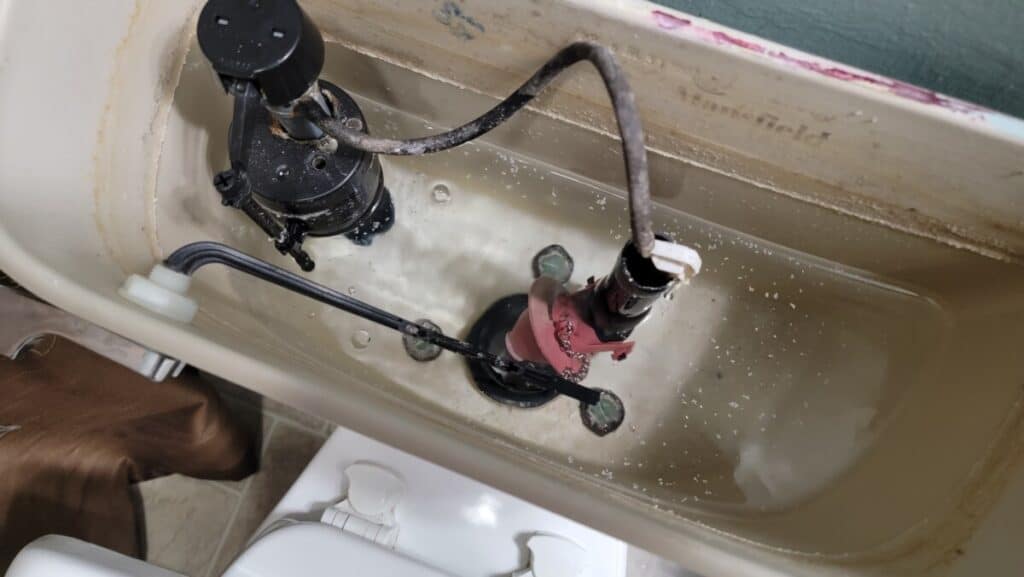
Before we dive into the troubleshooting process, it’s important to understand the key components of a toilet. The main parts involved in your flush:
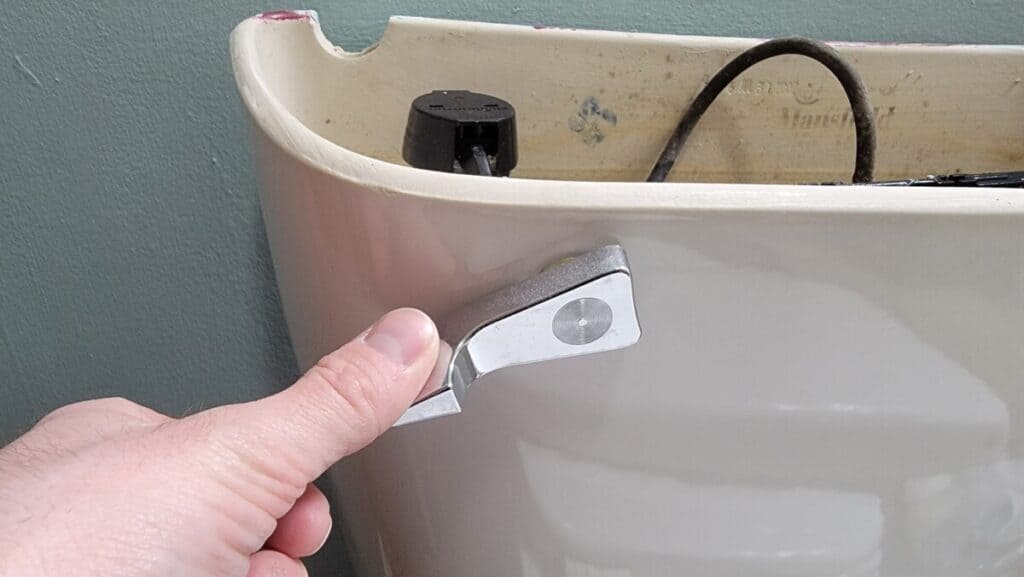
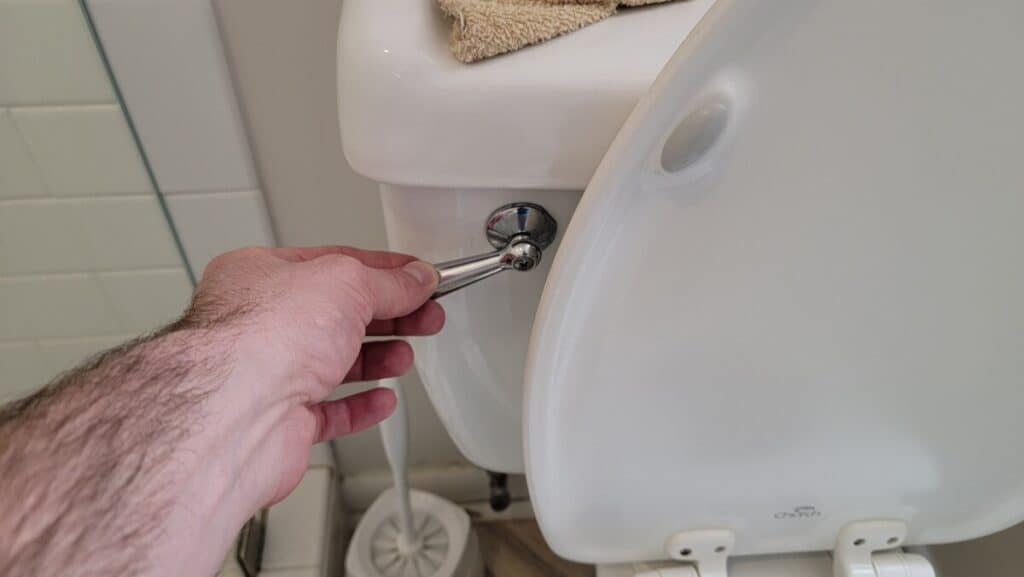
- Flush handle: The lever or button you press to initiate the flush.
- Flush valve: The mechanism that releases water from the tank into the bowl when the handle is pressed.
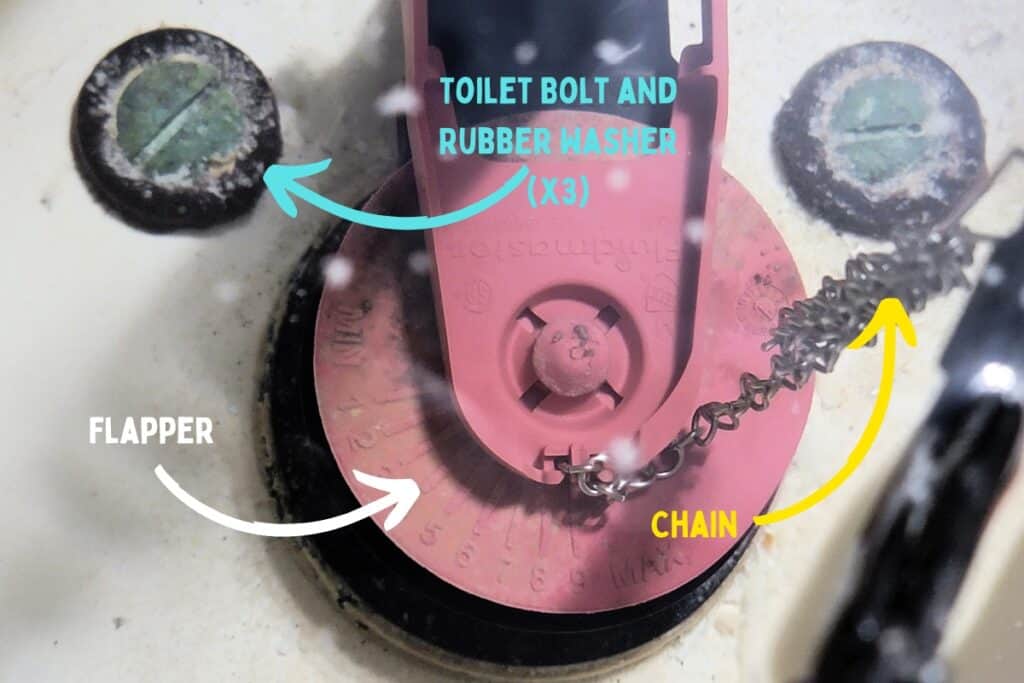
- Flapper: A rubber or plastic seal that covers the flush valve opening, preventing water from flowing into the bowl until the handle is pressed.
- Lift chain: A chain connecting the flush handle to the flapper, lifting the flapper when the handle is pressed.
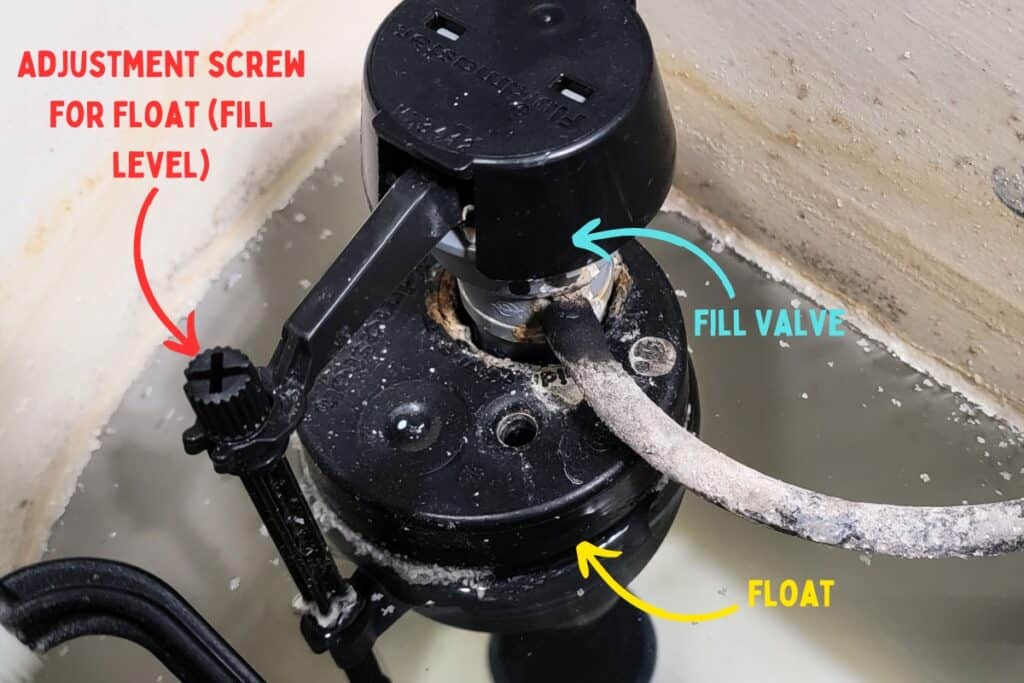
- Fill valve: The component that refills the tank with water after each flush. If your toilet is hissing, then the fill valve is a likely cuplrit. Check out this article here on how to fix it.
Common Causes of a Toilet Not Flushing Properly
When a toilet requires you to stand around and hold the handle down to flush, it’s usually due to one of the following issues:
- Improperly adjusted lift chain (Common): If the lift chain is too long or too short, it may not lift the flapper high enough to allow for a complete flush.
- Insufficient water in the tank (Common): If there’s not enough water in the tank, the flush may not be powerful enough to clear the bowl.
- Worn or damaged flapper (Less Common): A worn or damaged flapper may not seal properly, causing the flush valve to close prematurely.
Troubleshooting and Fixing a Toilet That Won’t Flush Without Holding the Handle Down
Now that we’ve covered the basics of the components and how a toilet flushes, let’s get into the steps to troubleshoot and fix a toilet that won’t flush without holding the handle down.
Step 1: Turn Off the Water Supply
Before you begin, it’s important to turn off the water supply to your toilet. Locate the shutoff valve, which is typically found near the base of the toilet on the wall or floor, and turn it clockwise to shut off the water.
Step 2: Remove the Tank Lid
Carefully remove the lid from the toilet reservoir tank and set it aside on a flat surface to avoid damaging it.
Step 3: Inspect the Lift Chain
Check the lift chain for any signs of damage, such as rust or kinks, and make sure it’s connected properly to the flush handle and flapper. The chain should have a slight amount of slack when the flapper is in the closed position and the flush handle isn’t being depressed. If it’s too tight or too loose, adjust the length by moving the hook connecting the chain to the handle or flapper.
When all is said and done, the chain should be adjusted so that when you flush the flapper will stand fully upright for about 5 seconds (without having to hold the handle down) before it drops back down to cover the flush valve.
If the chain is too tight, it won’t allow the flapper to open all the way because the flush handle won’t be able to be fully depressed before bottoming out. If the chain is too loose, the flush handle will be fully depressed but the flapper will barely be lifted away from the flush valve and will immediately seal again if you let the handle go and won’t deliver a full flush.
Step 4: Examine the Flapper
Inspect the flapper for any signs of wear or damage, such as cracks, deformities, or mineral deposits. If the flapper is damaged, it will need to be replaced. If it’s just covered with deposits, then use your fingers or a scouring pad to remove the buildup.
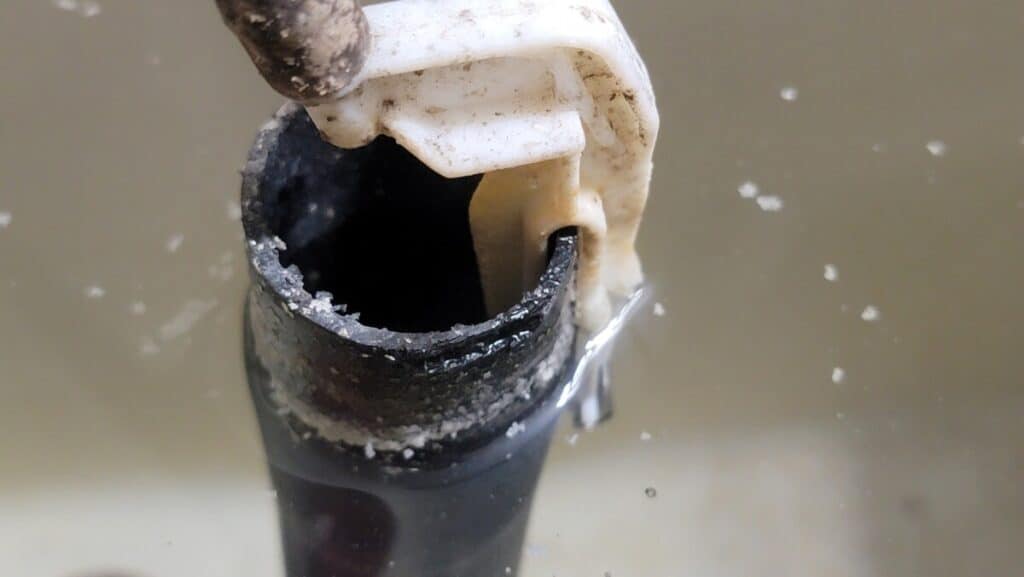
To remove the flapper, unhook it from the flush valve and lift chain, and then attach a new flapper in its place. Make sure the new flapper forms a tight seal over the flush valve opening. You should also rub your fingers along the rim of the flush valve to make sure no mineral deposits have built up that could stop the flapper from sealing.
Step 5: Check the Water Level in the Tank
You’ll need to turn the water to the toilet back on for this step. The water level in the tank should be about 1 inch below the top of the overflow tube, which is the tall vertical tube in the center of the tank, after the toilet has filled. If the water level is too low, adjust the fill valve by turning the adjustment screw or sliding the float up or down, depending on the type of fill valve you have. Once the water level is correct, turn the water supply back on and let the tank fill up.
Remember, if there isn’t a high enough water level in the tank, the flush will not have the pressure and momentum needed to operate without standing around and holding the handle down.
Step 6: Test the Flush
With the water supply back on and the tank full, test the flush to see if the issue has been resolved. Take note of the flapper and remember that it should stay lifted up for about 5 seconds after you press the handle and release it. Press the flush handle and observe the flushing process. If the toilet now flushes without having to hold the handle down, the problem is solved.
Step 7: Troubleshoot Further if Necessary
If the issue persists after completing the above steps, there may be a more complex problem with the flush valve assembly or other internal components. In this case, it’s a good idea to consult a professional plumber or handyman to diagnose and fix the issue.
Final Thoughts
A toilet that won’t flush without holding the handle down can be an annoyance, but fortunately, it’s often a simple issue to fix. By inspecting and adjusting the lift chain, replacing a damaged flapper, and ensuring the water level in the tank is correct, you can quickly restore your toilet’s proper flushing function. If the problem persists after following these steps, don’t hesitate to seek professional assistance to address any underlying issues. With a little effort and patience, you’ll be able to enjoy a smoothly functioning toilet once again.


