Flapper Lift Duration: How to Adjust for an Efficient Flush
If you’re here because you’re wondering how long your flapper should stay open after you flush, then I’m assuming it’s because you have a flushing problem and not because you had a random curiosity. I worked maintenance for 10 years at a property with over 250 toilets and serviced thousands of issues over the years — flappers were no exception.
A toilet flapper is a critical component of your toilet’s flushing mechanism. It’s the rubber or plastic piece that covers the flush valve opening in the bottom of the tank, controlling the flow of water into the toilet bowl.
One question many homeowners ask when they’re having a flushing issue is: How long should a toilet flapper stay open? The answer lies in understanding the mechanism and how it affects your toilet’s performance.
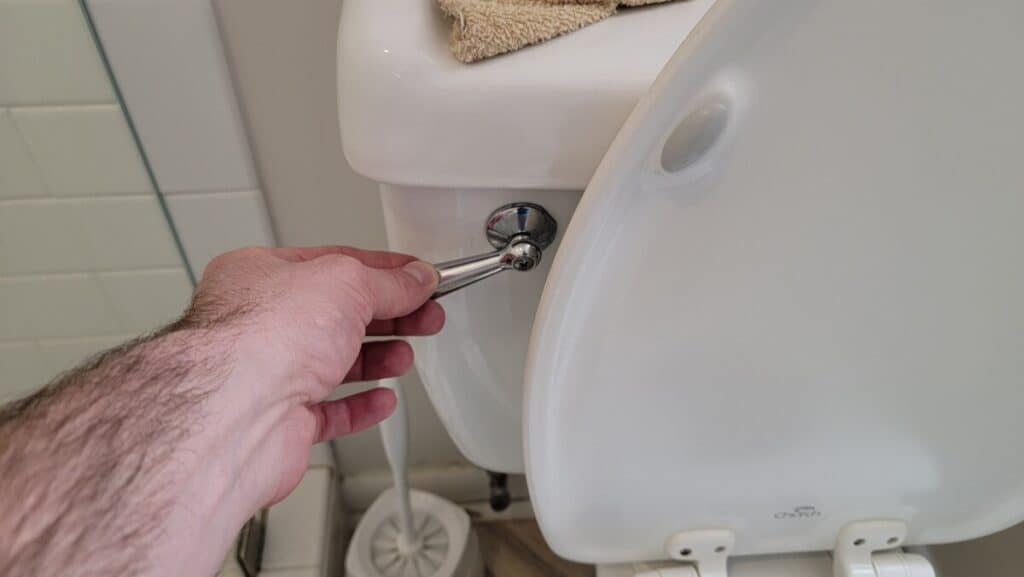
In a commonly found, modern, low-flow toilet, the flapper should stay upright for 5-7 seconds after pushing the handle down. This duration allows enough water to flow into the bowl for an effective flush.
Problems with Inadequate Flapper Duration
If the flapper doesn’t stay open long enough, the flush will be incomplete, leaving waste and toilet paper behind. This can lead to:
- Frequent clogging
- Multiple flushes
- Increased water usage
- Unpleasant odors
Fixing the Flapper Duration
If you find that your flapper isn’t staying open long enough, there are a few simple steps to fix the issue:
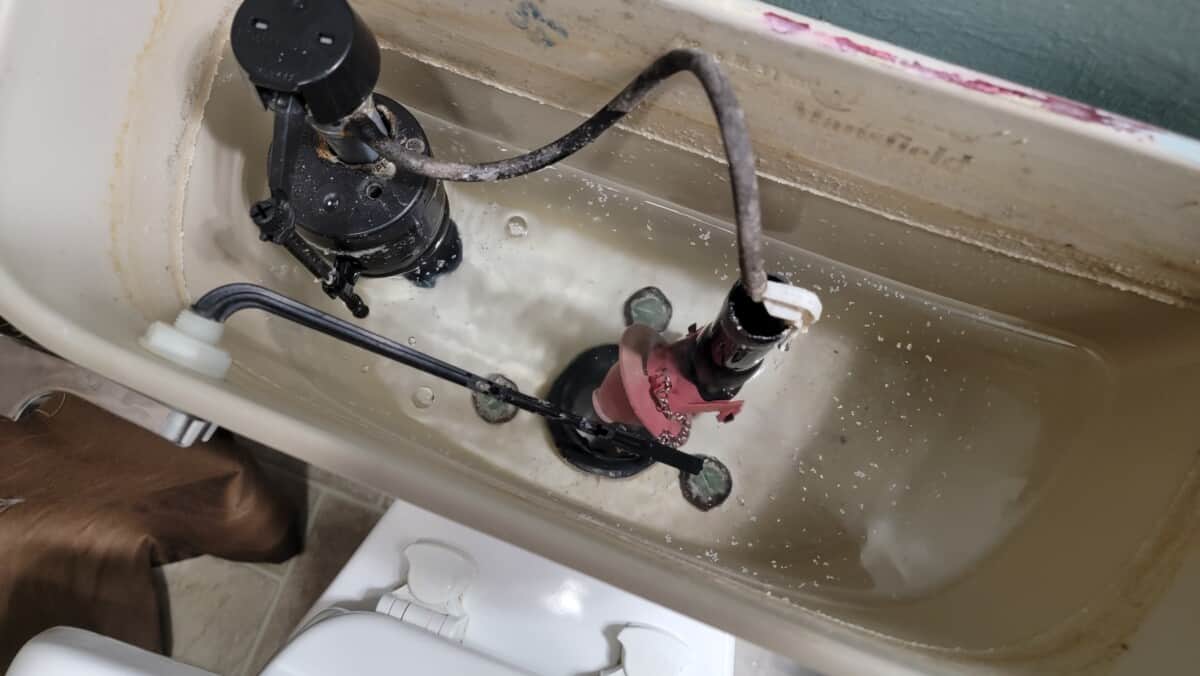
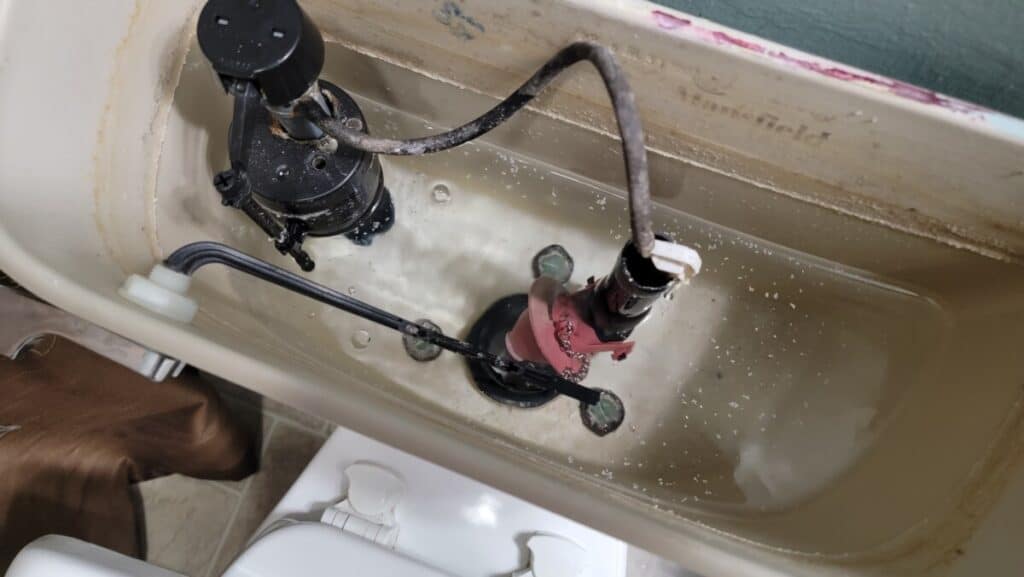
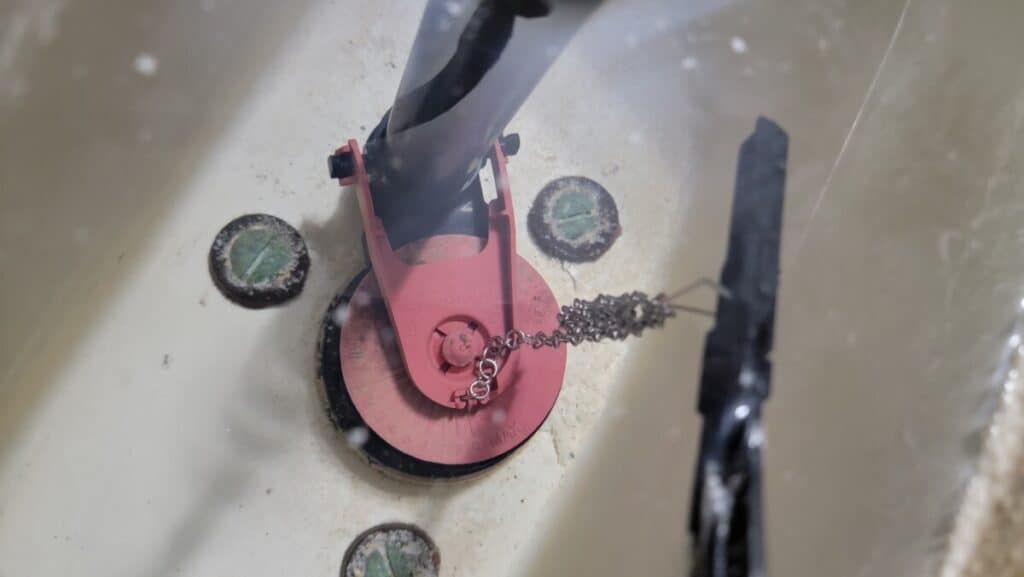
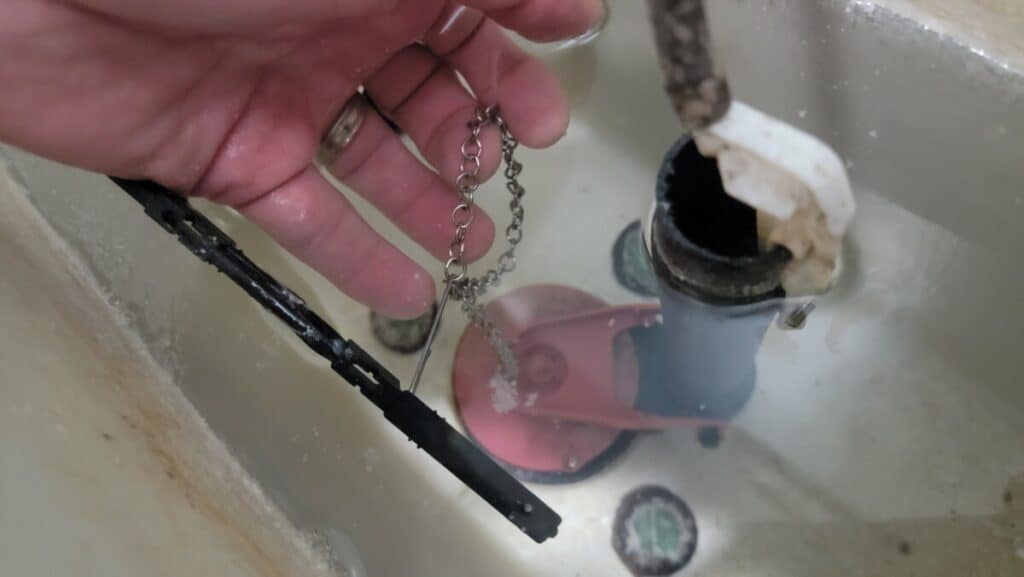
- Adjust the chain length (Most Common Fix): The chain connecting the toilet handle to the flapper might be too short or too long. Adjust the chain so that it has a slight slack when the flapper is closed. This will ensure the flapper opens and closes properly.
- Any excess chain can simply be looped up on the hook that attaches to the flush arm above, so there’s no need to remove any chain links with wire cutters.
- Replace the flapper: If adjusting the chain doesn’t help, the flapper itself could be worn out or warped. Replace the flapper with a new one that’s compatible with your toilet model.
- Before replacing it, try massaging the underside of the flapper with your fingers to remove any mineral deposits from your water that are preventing it from functioning properly.
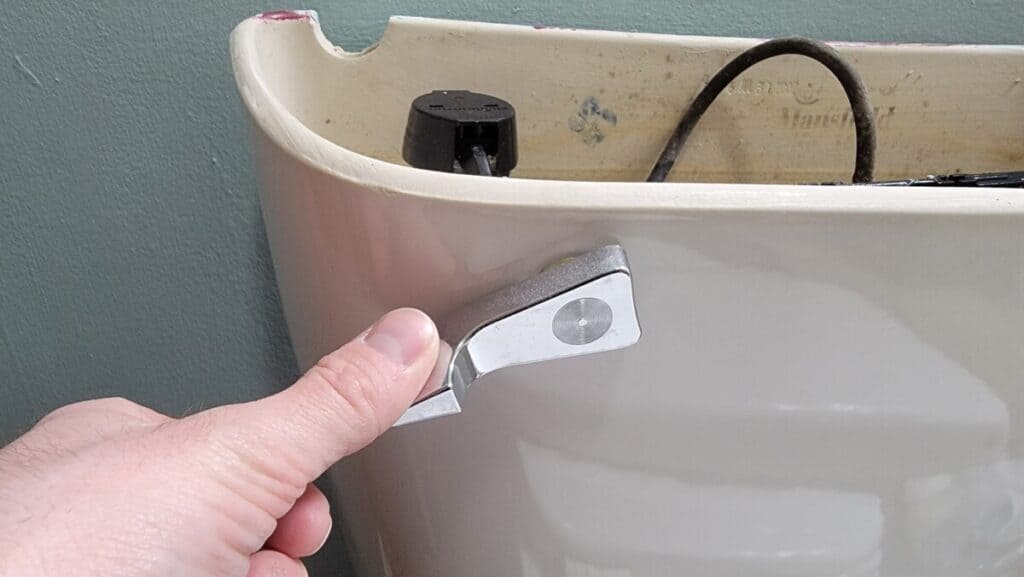
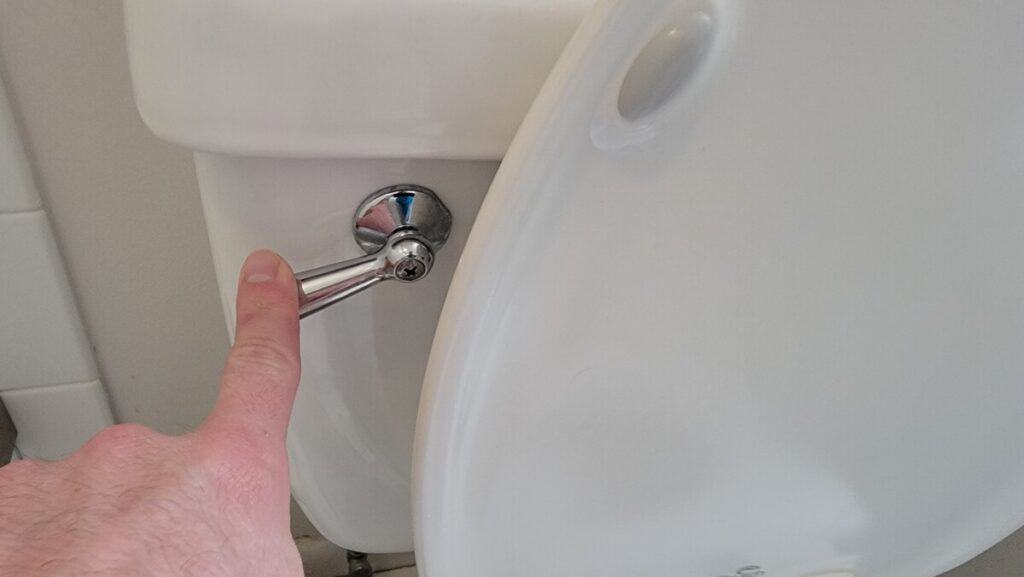
- Check the flush handle: If the handle isn’t returning to its original position after a flush, it might be causing the flapper to close too soon. Clean the handle’s mounting nut and ensure it’s not overtightened.
- Inspect the float ball: In some toilets, a float ball is attached to the flapper, controlling the duration it stays open. If the ball is damaged or not set correctly, it can affect the flapper’s performance. Adjust or replace the float ball as needed.
Final Thoughts
Ensuring that your toilet flapper stays open for the appropriate duration is crucial for efficient and effective flushing. If you encounter issues with your flapper, following the steps outlined above can help you resolve them and maintain a well-functioning toilet. Remember, the ideal flapper duration for a modern low-flow toilet is 5-7 seconds. Keep this in mind, and you’ll be on your way to a more efficient bathroom experience.


